welcome to my blog :)

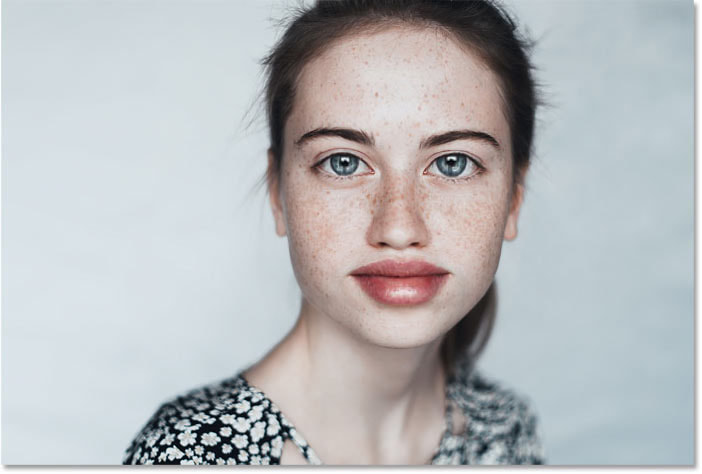
Using Photoshop, I swelled this girls face. First, click on the three lines at the bottom right next to Paths and clicked on "Convert to smart object." Then at the top, we clicked on Filter and then Liquify. After that, you can adjust the facial features. I made her nose, lips, and eyes huge using the slide bars on the right!
0 Comments
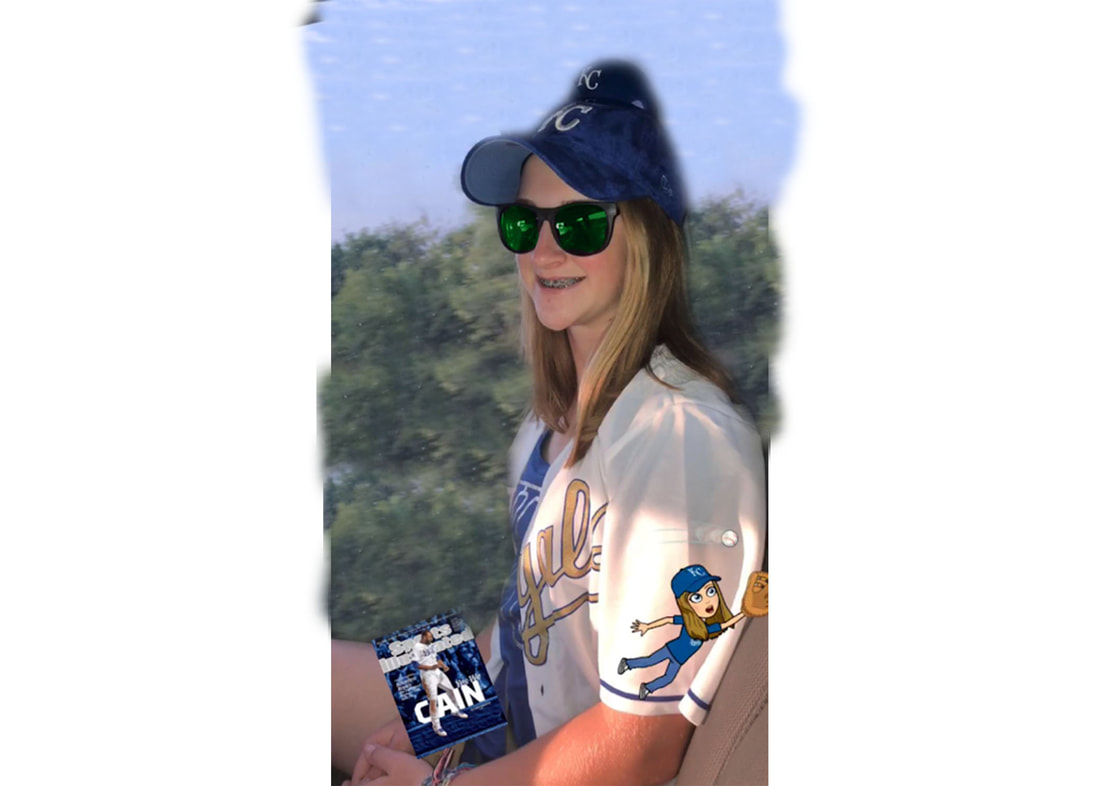
 First place both text and a photo in separate layers, with the text being behind the photo. Then, press and hold alt and click on the line between the two layers. Vioala!
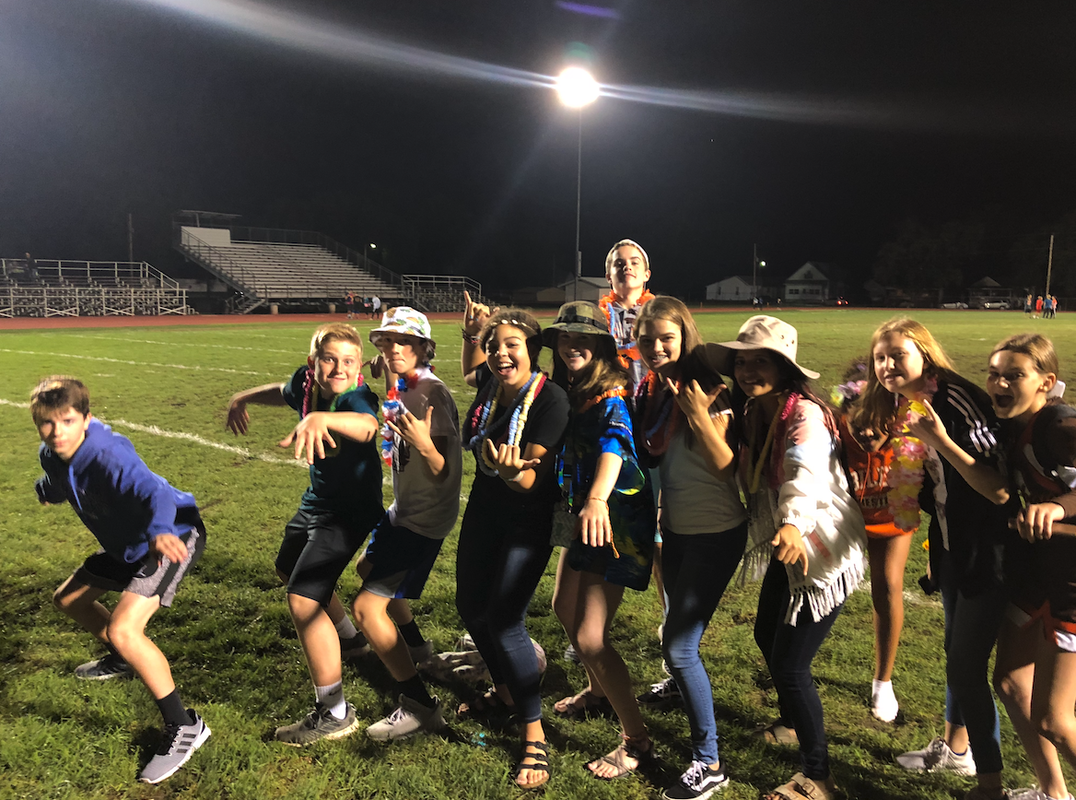
 To blur photos in photoshop, first open your photo in photoshop. Then go to the Filter tab at the top of the screen and go down to blur gallery, then to Field blur. This brings up a blur gallery and a pin in the center of your picture. To adjust the amount of blur, you can adjust it on either the blur gallery slider or the pin circle. Once you have the background of the photo the way you would like it, drag it by its center away from the area you don't want blurred. Then, click on the area you don't want blurred to add a new pin. Then turn the blurring all the way down. You can add other pins to fine tune where you want blurred. Once all of your blurring is complete, press return to save and exit the blurring gallery!
 To blend photos together in photoshop, first put two photos into photoshop on different layers in the order you want them to stack. Then select the "top" photo. Go to the tab that says "Normal" in the lower right and change it to "Overlay." Once you have done that, select the top layer and go to the layers tab on the very top of your screen and select "merge down." Now your photo is nice, blended, and in one piece!
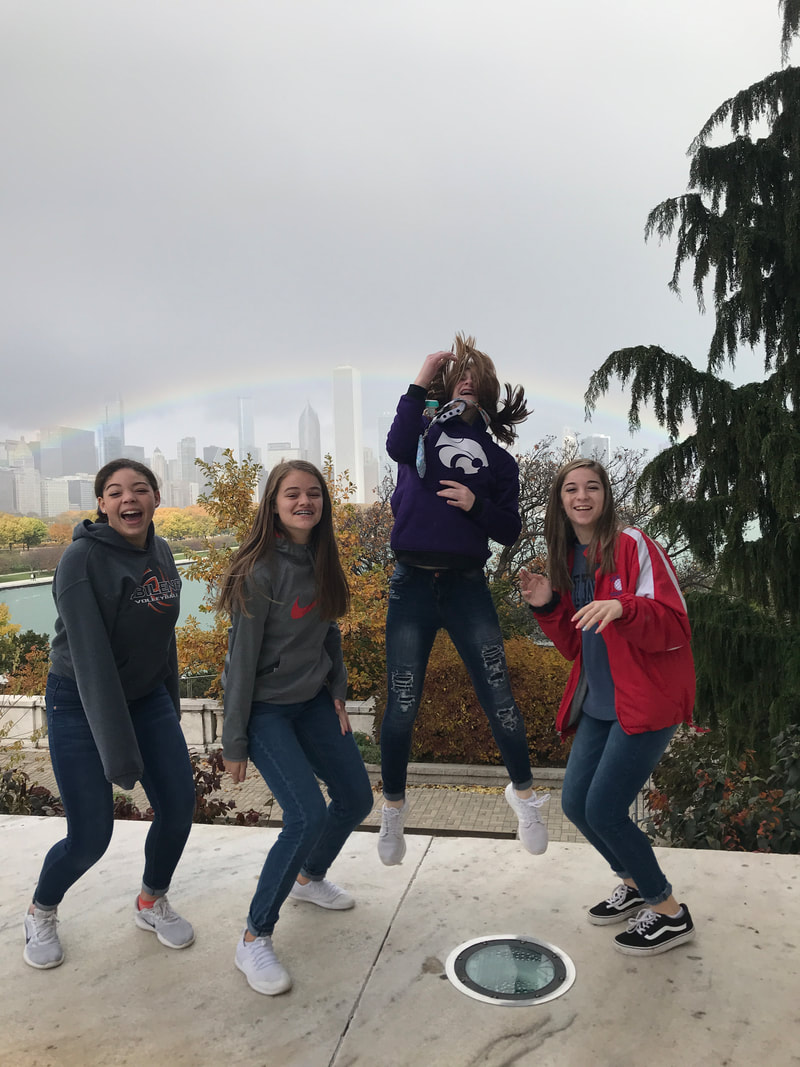
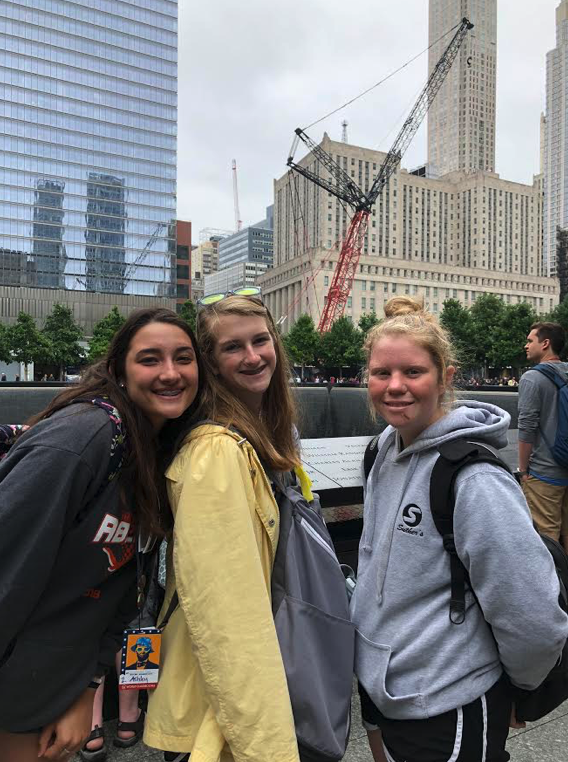
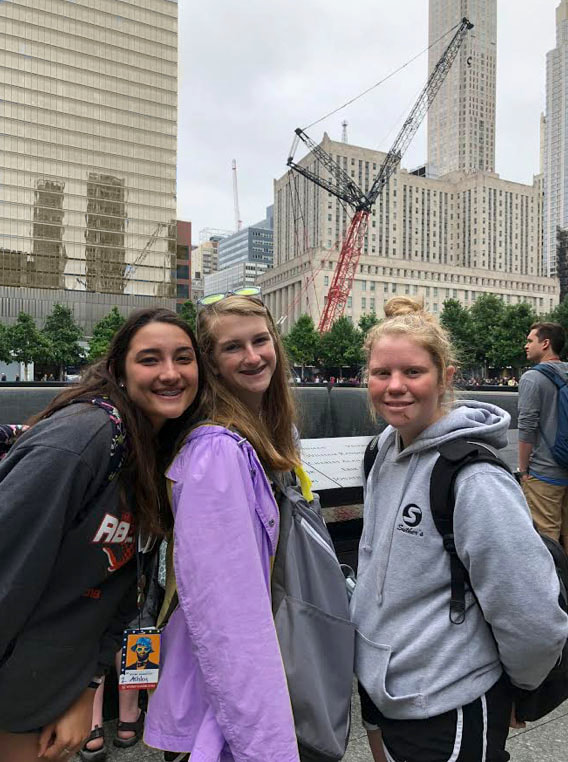
To change the color of the World Trade Center, first I used the eyedropper tool to select the color of the building next to it. Then I used the color replacement tool and colored over the World trade center. To change the color of my jacket, I first selected my jacket using the selection tool, then I went to the half circle at the bottom, selected Hue/Saturation, and then adjusted the hue and saturation until I got the pretty purple shade you see.
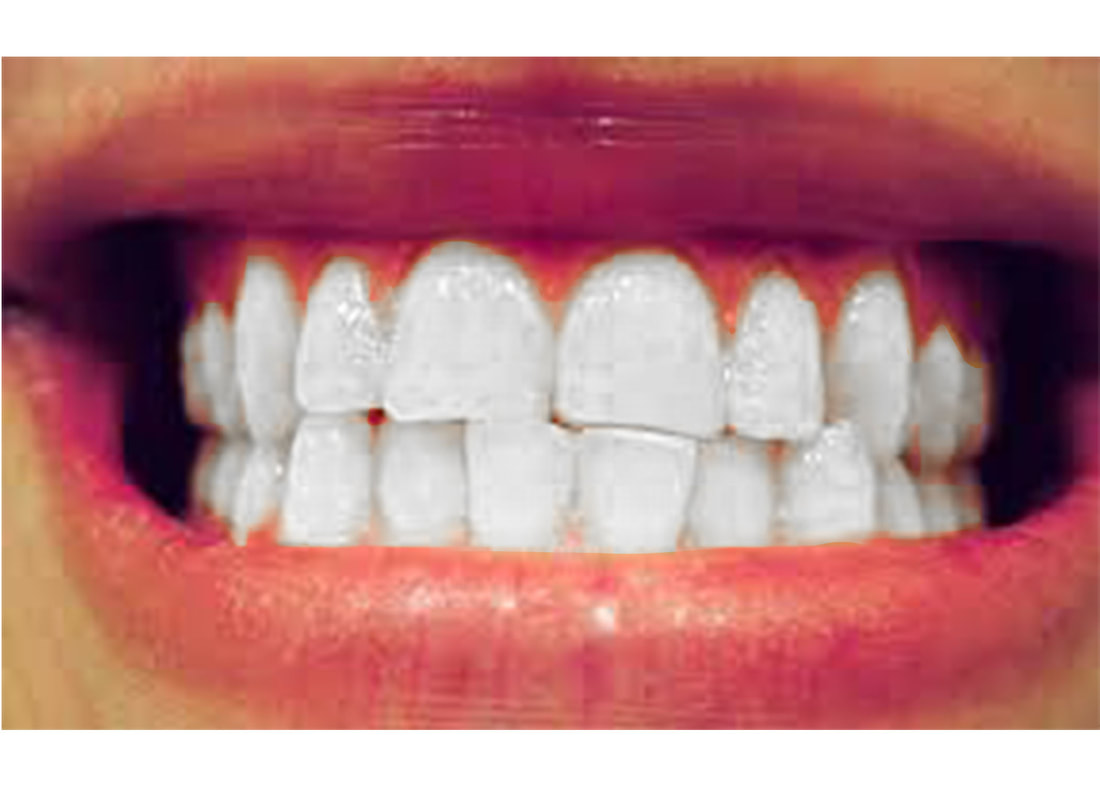 To whiten these teeth, we used the photoshop app. First we selected the teeth using the lasso tool. Then we took our cursor down to the half circle filled in at the bottom and selected hue/saturation. Then we selected yellows under masters, and then we could adjust the hue and saturation.
Use clipping mask to add a picture behind your text. Place your words on top of your picture in adobe illustrator, select all, and then select the clipping mask tool under the object tab.  |


 RSS Feed
